Banana bread cake pops

Once again the last few bananas in my house have been neglected. Fortunately for me I had the good sense to prolong its brown yellow life in the fridge and bake banana bread cake pops. These were inspired by my friend Nicole who told me this long ago when I made the carrot cake pops.

Banana Bread Cake Pops
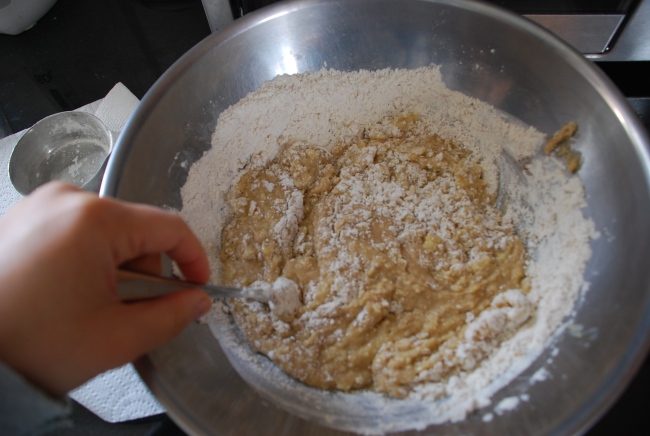
Recipe for Banana Bread
When I made the banana bread this time I left out the butter because as I mentioned in the previous post the banana and yogurt makes up for the lack of butter.
Put 1/2 cup of chocolate instead of 3/4 cups since the coating of the cake pop would be chocolate.
Substituted 1/2 cup of flour for 1/2 cup of ground flaxseed.
You can feel less guilty eating this cake pop or bread.
DSC_3887
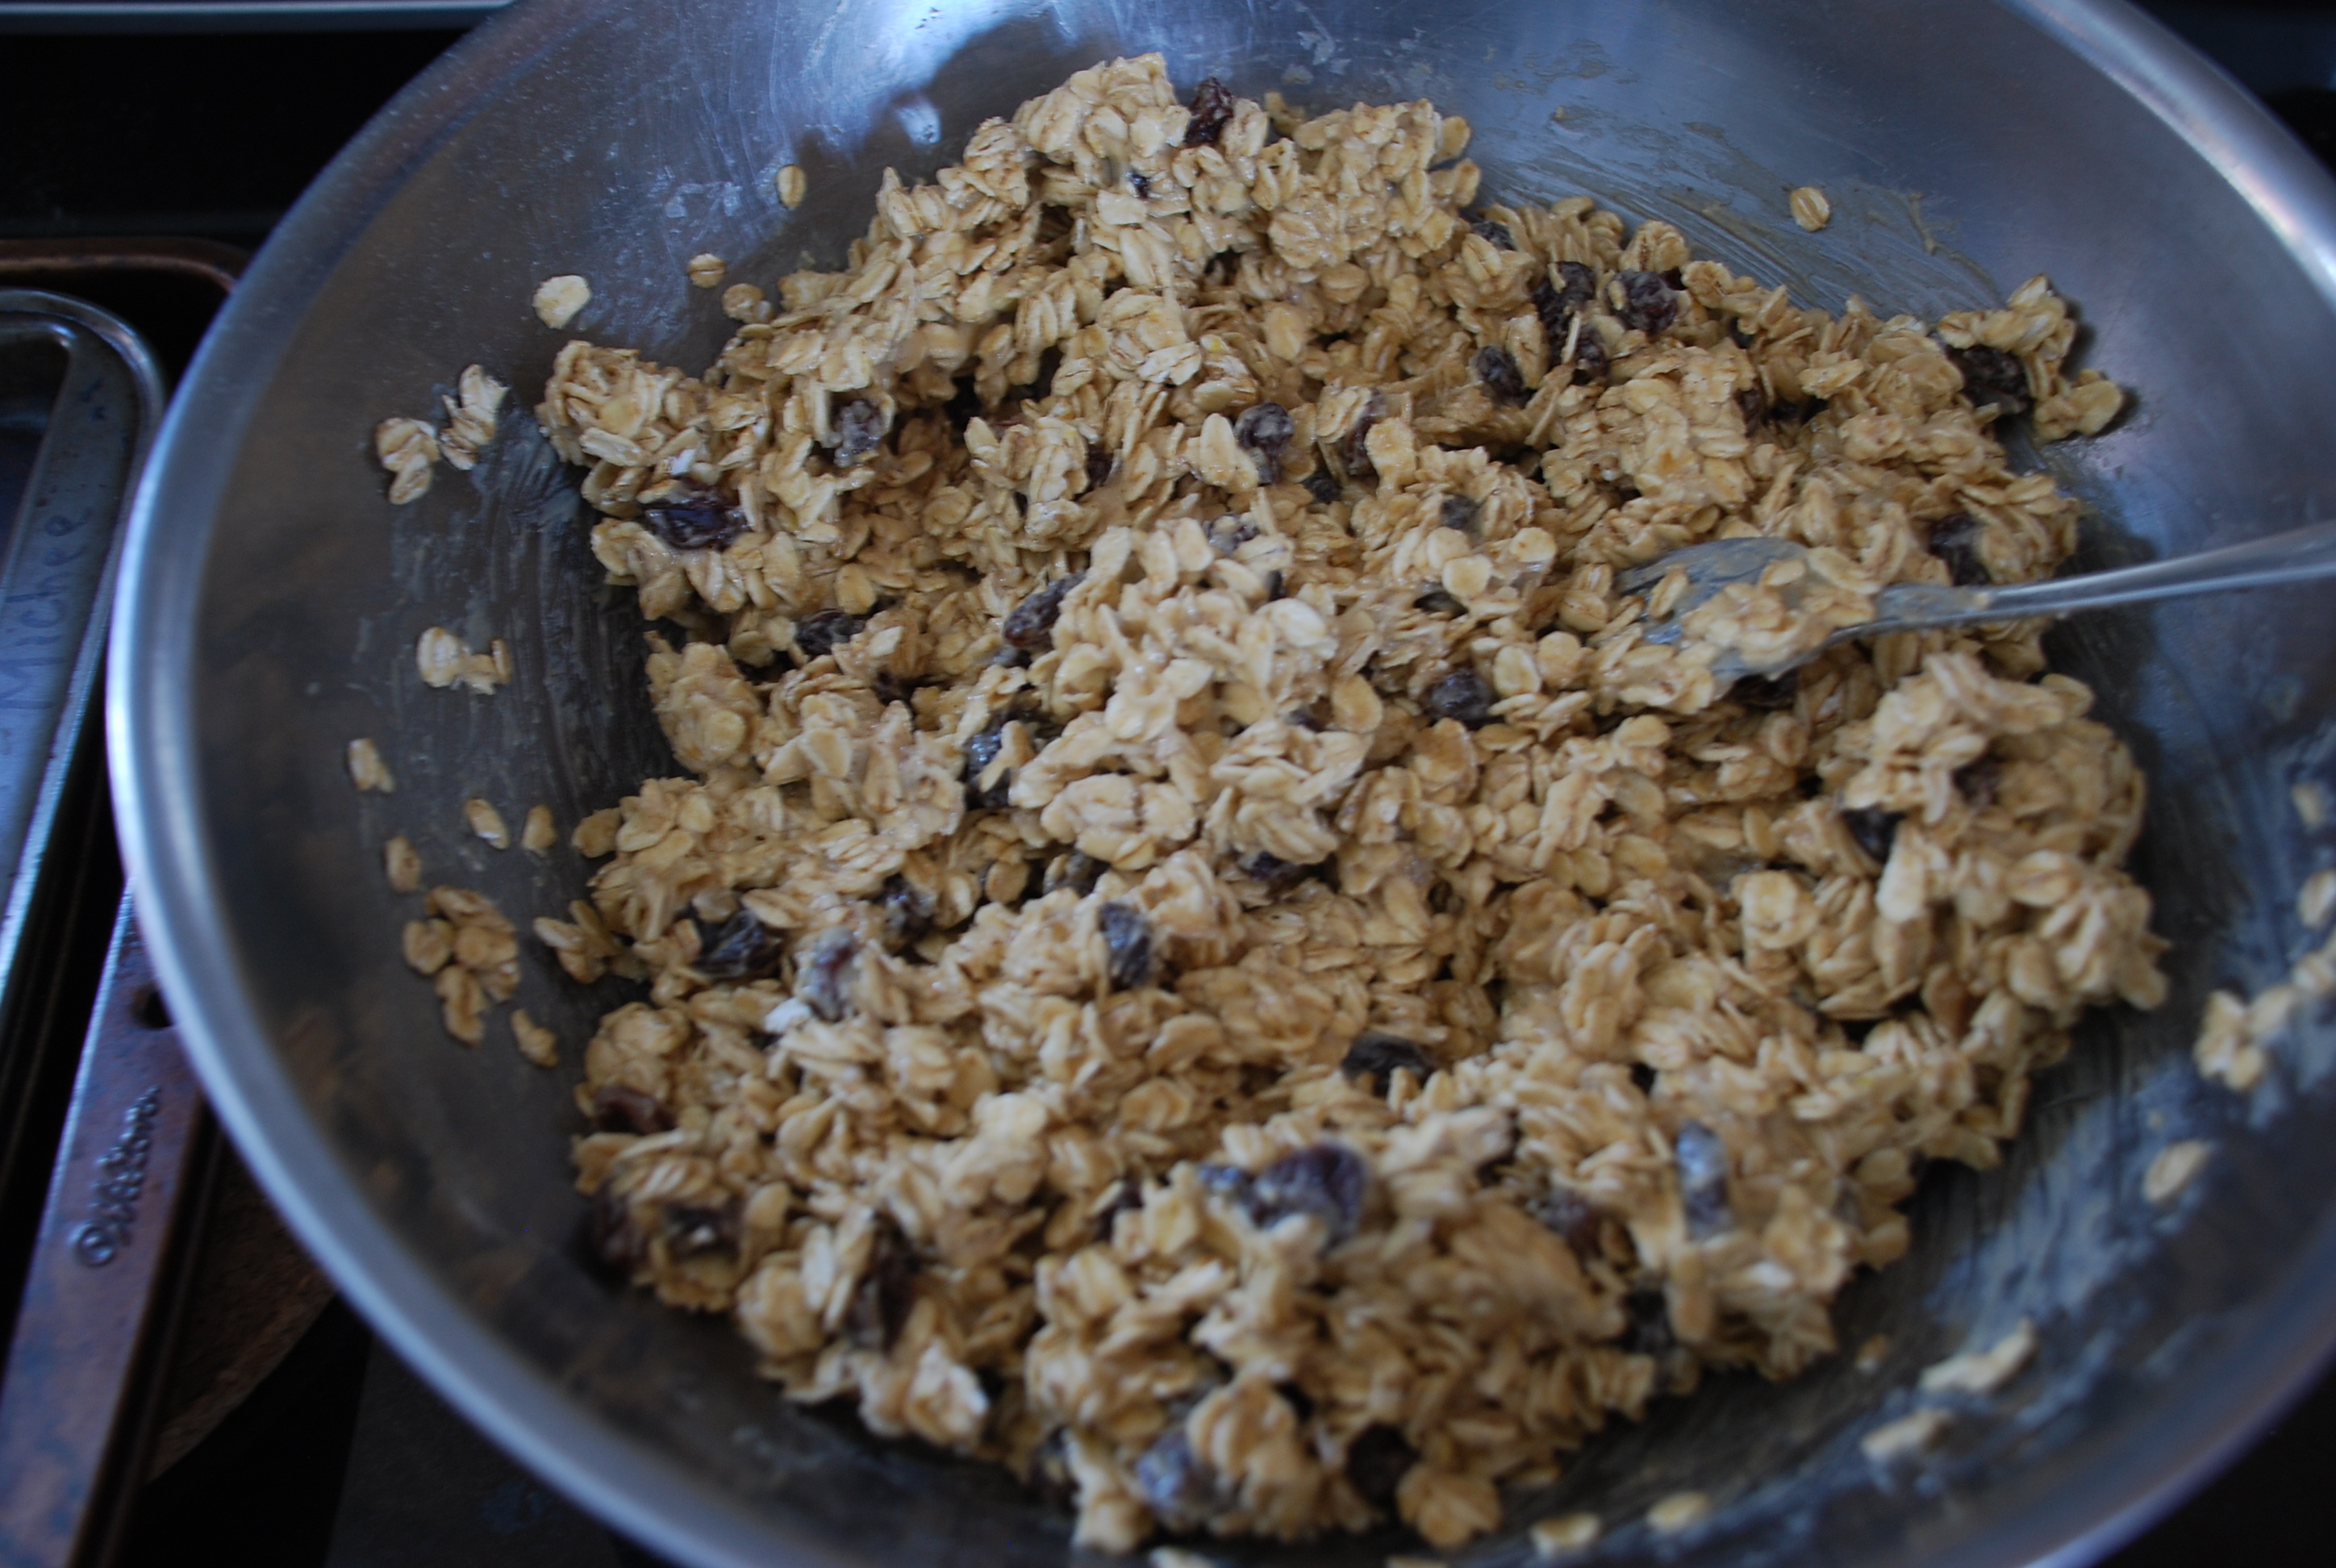
Crumbly banana chocolaty goodness.
DSC_3889
Cake pops all made.
DSC_3894
Cake pops ready for chocolate covering. I had were a few pieces of Hershey bar chocolate in the kitchen.
DSC_3897
Time for the chocolate.
DSC_3903
All done and ready to eat!

Cake pop assembly
After letting it cool for a while, crumble the banana bread in a bowl with your hands or fork or both.
The banana bread has already a binding component from the mushy bananas, when you get to this point you will see, so you don’t need add any type of frosting or binding agent.
Make the cake pops into the size of a ping pong ball or a tad smaller and place the lollipop sticks inside the cake balls. (I advise you to cut the lollipop sticks in half since I think they are too long)
Place the cake pops on a baking tray, lined with aluminum foil or parchment paper, and put them in the freezer for 15 mins or refrigerator for 30 mins or less since the cake pops have the mushy banana binding.
Melt the chocolate in the a double boiler or microwave it in 20 second increments. Watch the chocolate, especially in the microwave, so you don’t dry out the chocolate.
Take the cake pops out and start to cover them in the chocolate and place them back on the baking tray.
When you are done with that, place the cake pops back in freezer or fridge to harden the chocolate. After the wait then you can eat it!

Roasted Almonds

Since the previous recipe was not baking related I decided that to put in this super simple recipe for roasted almonds. My friend Amber introduced me to roasted almonds and let me tell you if you have not tried roasted almonds, or thought raw almonds were ok, then this will make you love almonds. By roasting the almonds you release a distinct almond aroma and when the almonds are cooled it gives the almond a great crunch. I think the crunch is the best part!
Almonds are great for snacking or when you are counting down the time to lunch or dinner. Also, they are packed with nutrients such as protein, magnesium and vitamin E.  Which helps you lower bad cholesterol (LDL). Keep the portion size to a handful or 1 cup.

Roasted Almonds
from Amber
If you don’t want to turn on the oven then you can use a toaster oven, works just as well.
You can put as much almonds as you want and keep the same time.

DSC_3911
Before baking
DSC_3918
After baking. Enjoy!

2 cups almond

Oven temp to 350°F and bake for 10 mins.
Let the almonds cool and enjoy the crunchy tasty almonds.

Smoothie & Oatmeal raisin cookies

Yesterday I tried to make a super healthy smoothie with mango, banana, flaxseeds, kale, spinach, cranberry juice, yogurt and blueberry. Before I blended the ingredients it looked very colorful and pretty but oh my goodness afterwards…it did not look appealing. I have to say it didn’t taste that bad but after the first cup I couldn’t drink anymore, so that won’t be happening again anytime soon. Although my smoothie was better than the smoothie/liquified food a youtuber, named Alfie Deyes, made from a fry up, a traditional English breakfast. (click his name to see the video, eww but it’s funny!)

ImageImage
From colorful to a really bad shade of blurry beige.

On to a successful recipe, Oatmeal Raisin Cookies! Continuing on the oatmeal trend, from my previous recipe, these cookies smell & taste delicious (it’s that darn cinnamon). Also, it makes you feel a little less guilty for eating a cookie since its made with oatmeal. The reason I made the cookies was because my father requested me to make them for meeting he was going to have today and being a wonderful daughter I made them.

Image
This is the butter, brown sugar, milk, egg and vanilla mixture. If you did not leave the butter out to soften, pop it into the microwave for about 30 seconds and out comes soften/melted butter. The mixture looks weird and lumpy but it’s okay, keep going!

Image
Mixing the flour, cinnamon, baking soda and salt into the butter mixture.
Image
After the butter and flour mixture has been combined it will be smooth and velvety.
Image
Stirred in the oatmeal and raisins until you see everything coated with the butter/flour mixture.
Image
Image
Done and plated! yum!

Oatmeal raisin cookies
adapted from sun maid raisin oatmeal cookie.
I got this recipe from the back of a sun-maid raisin package. Though I changed the amount of sugar and mixing pattern cause I realized after baking a lot that American recipes tend to add a boatload of sugar, which I don’t want extra if I don’t need it. As for the mixing I got lazy, skipped a step and it turns out perfectly fine.

3/4 cup butter, softened

1/2 cup of brown sugar

1/4 cup milk

1 egg

1 teaspoon vanilla

1 cup all-purpose flour

1 teaspoon cinnamon

1/2 teaspoon baking soda

1/4 teaspoon salt

3 cups oatmeal

1 cup raisins

Heat oven to 350 degrees.
Beat butter, brown sugar, milk, egg and vanilla in a large bowl until combined.
Add flour, cinnamon, baking soda and salt into the butter mixture and mix together.
Stir in oats and raisins. Drop tablespoonfuls onto aluminum foil or wax paper covered cookie sheets.
Bake 12 to 15 mins. Remove from oven and let it cool.